

Welcome + Cozy Fall Recipes
Welcome + Cozy Fall Recipes
weeknight white bean risotto in less than an hour; weekend apple cider cake to celebrate Rosh Hashanah

Hello and welcome to the first official Monday to Sunday newsletter! I wanted to start by giving a little introduction before diving into some fun recipes.
*Scroll down below to head straight to the recipes!*
I’m Karishma, and I run the Home Cooking Collective food blog. I am also a food photographer, culinary researcher, and home cook of 15+ years.
My cooking style
I see cooking as an act of love and a form of relaxation. My ultimate goal is to help you create moments of joy and long-lasting memories in the kitchen.
The recipes I share typically fit into the following categories:
Small-batch: Most of my weeknight dinners serve 2 to 4.
Made from scratch: For me, cooking is a form of self-care. I truly enjoy being in the kitchen, from kneading dough to simmering a pot of bubbling stew to grilling a whole fish. My aim here is to break down seemingly complex techniques into accessible, fun, and delicious recipes.
Flavorful: Growing up in an Indian household has had a profound impact on my cooking. While I don’t regularly develop traditional Indian recipes, you will quickly notice that many of my recipes use bold and punchy ingredients. In my home, you can always find a bowl of lemons and limes, my trusty masala dabba filled with spices, at least three kinds of herbs, and endless condiments.
Heavily vegetarian: My husband and I consider ourselves flexitarian, which I recognize is an incredibly vague, unhelpful word. But, essentially, we eat mostly vegetarian, with a bit of seafood thrown in here and there, and every so often, we might eat meat on a special occasion.
Alright, that’s enough of a primer! Let’s get into the good stuff. This week, I’m featuring two exciting recipes to celebrate the start of the coziest season, autumn!
Weeknight dinner: white bean risotto with herby breadcrumbs

This white bean risotto is an excellent mid-week pick-me-up that’s both nourishing and full of good flavor.
Key flavors: Creamy white beans in risotto pair ever so nicely with black pepper and pecorino romano cheese (consider this a bit of a riff on cacio e pepe). While the risotto cooks, you prepare a quick crunchy breadcrumb topping with parsley, garlic, and panko. It adds amazing texture and just a little bit more intrigue to the meal.
Tips & Tricks
Don’t tire yourself out stirring, but don’t walk away either. Contrary to popular belief, you don’t need to stir your risotto constantly. I typically stir every couple of minutes (especially after each addition of stock) to prevent any rice from sticking to the bottom of the pan and help release that creamy starch.
Use warm stock. Using warm stock ensures that the risotto doesn’t have to constantly come back up to a simmer after each addition. I typically keep a pot of stock on my back burner on a low simmer and use a ladle or measuring cup to transfer the liquid to my risotto pot.
Keep tasting the rice. I recommend tasting the rice for doneness starting at the 15 minute mark. Undercooked risotto has a hard, gritty bite in the center. Overcooked risotto tastes mushy. Al dente risotto tastes tender and has a smooth texture. When cooked correctly, the liquid in the pot should be thick enough to cling to the rice, and if you drag a wooden spoon through the risotto, it should leave a trail for a second or two.
Substitutions
Make it vegan: Omit the pecorino-romano cheese, and substitute 2 tablespoons of white miso paste.
Switch up the herbs: Use 1 tablespoon finely chopped rosemary or thyme in place of the parsley.
Don’t want to use wine? Omit it. Instead, I recommend adding a small squeeze of lemon juice to provide a little bit of acidity.
Grab the full recipe, plus additional tips and tricks below ↓
Weekend project: apple cider coffee cake
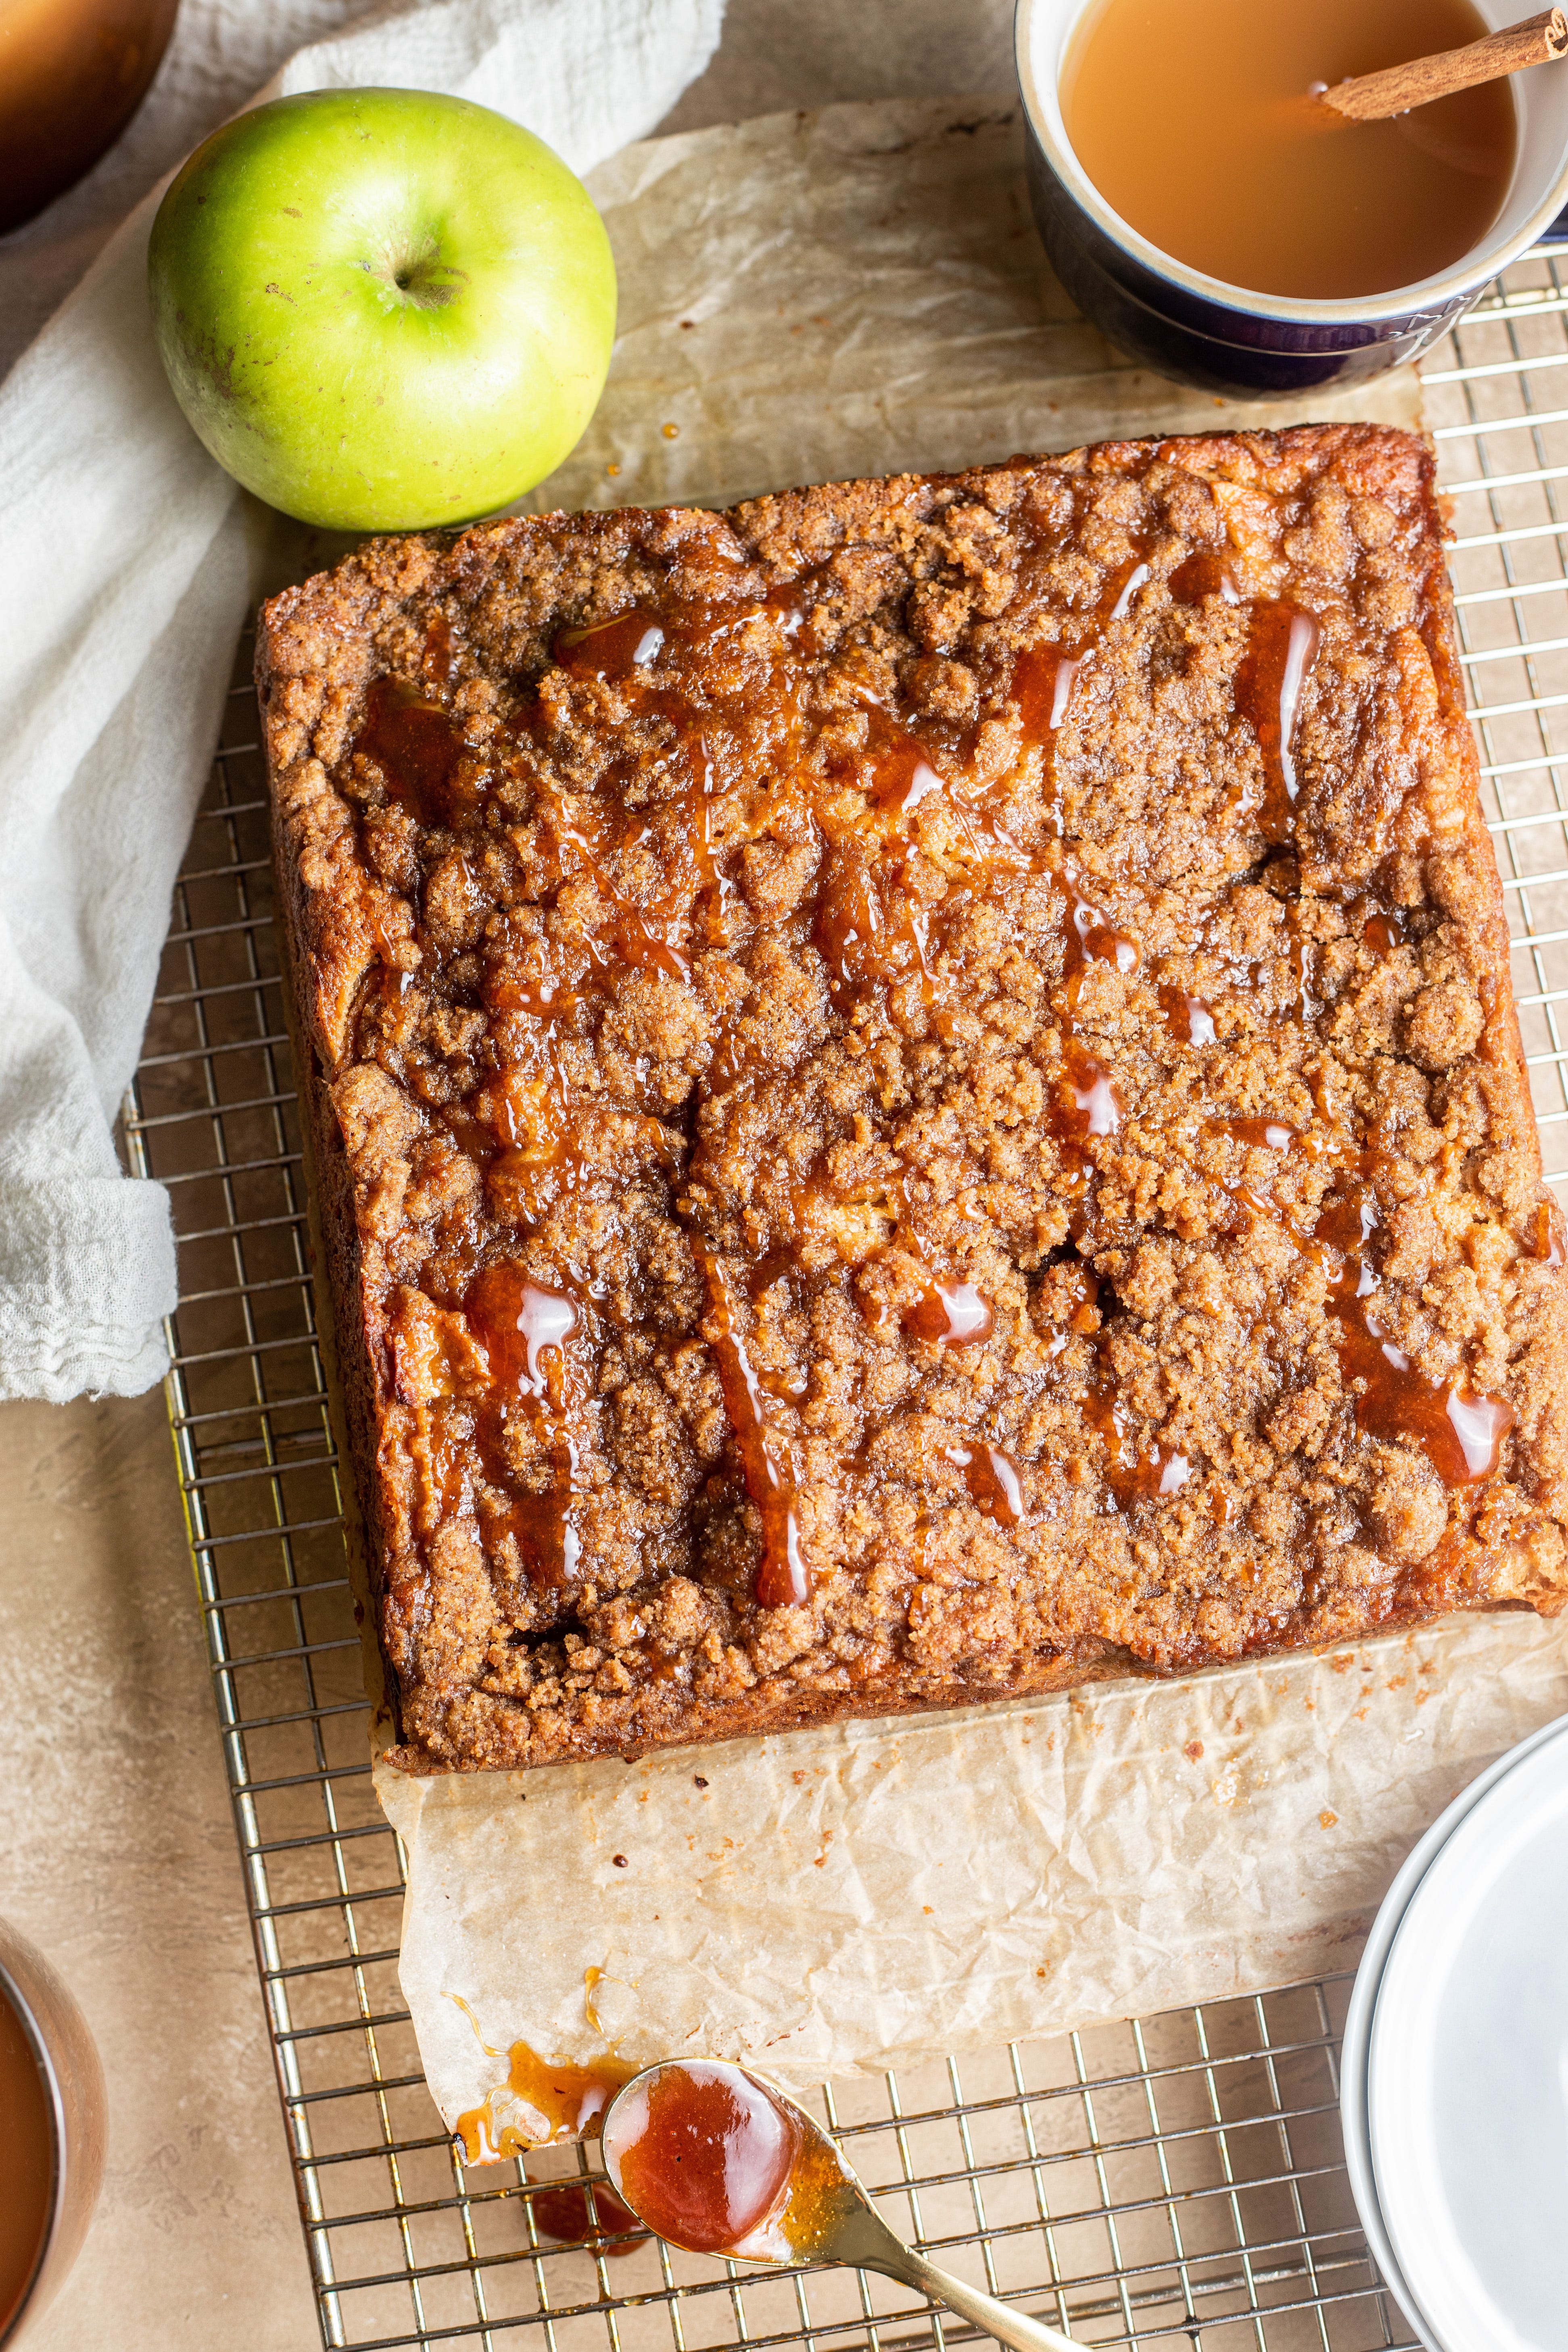
Here’s a little bit of a twist on a coffee cake! Enjoy on its own for breakfast or as a dessert served alongside vanilla or salted caramel ice cream.
Key flavors: Moist, cinnamon-spiced coffee cake studded with apples, a crunchy streusel topping, and a tart apple cider glaze.
Rosh Hashanah begins at sundown this Sunday, and since it is a tradition to eat apples and honey, I thought this apple cider coffee cake would be a great dessert option to bring in a sweet new year. You could even swap out the apple cider glaze topping for a drizzle of honey.
The origins of this coffee cake
When I first began researching ideas for this recipe, I noticed that most cider-based desserts called for reduced apple cider.
Reduced apple cider is quite easy to make. You heat the apple cider in a pot and simmer until it reduces to half the volume. The cooled, reduced liquid is then mixed into the batter to add a concentrated, tart apple flavor. In testing, I really liked the subtle flavor this added to the cake, but I felt like I wanted even more of it.
Boiled cider is a one-ingredient wonder
As I began brainstorming, I recalled trying King Arthur Flour’s Apple Pie recipe a few years ago. I loved the addition of boiled cider in the apple pie filling. Boiled cider is a thick, concentrated syrup made from apple cider with a wonderful tart flavor. The syrup has a viscosity similar to honey at room temperature.
Prior to refrigeration, boiling cider was a popular form of preservation in New England. Today, Wood’s Cider Mill is one of the only remaining producers of the product; you can order it online from King Arthur. The cool thing is, you can easily make it yourself at home. The process starts with simmering apple cider on the stove, but instead of reducing it to half its volume, you continue to simmer the liquid until it’s thick and syrupy (often, this means the cider reduces to one-eighth of its original volume). It’s a slow process, but it’s quite simple and so rewarding.
To really make this apple cider coffee cake shine, I mix reduced apple cider into the batter and drizzle the top of the cake with boiled, syrupy apple cider. I like to make the syrup slightly thicker than a traditional boiled cider so that the streusel doesn’t become soggy.
Tips & Tricks
Make sure your ingredients are at room temperature. I know it’s an extra step, but you’ll want to ensure your eggs, sour cream, and butter are at room temperature. This helps prevent curdling and ensures a fluffy cake with the proper structure.
Don’t overmix the batter. This recipe calls for a stand mixer or electric hand mixer; when adding in the dry ingredients, reduce the speed to the lowest setting. I typically stop the mixer when there are just a few dry bits left and finish mixing by hand with a spatula.
Don’t overbake. The cake is done when a toothpick inserted into the center comes back with very few or no crumbs. The streusel should appear firm and set (it may not look crunchy until after it cools, so don’t worry!).
Use parchment paper. Lining your cake pan with parchment paper to create an overhang ensures the cake can easily be removed from the pan.
Prep ahead. The reduced cider and boiled cider syrup can be made a few days in advance to make prep easier.
Even if you don’t make this cake, I highly recommend buying a half-gallon of apple cider and making the cider syrup! Heat the cider in a large pot on the stove and bring to a boil. Lower the heat and simmer until reduced to 1/8 of the original volume, stirring occasionally and scraping the sides. Cool completely, then store in an airtight container in the fridge for 3 months (some sources say it can even be stored indefinitely!)
P.S. Because the syrup is sugary, it can leave some residue on the sides of your pot (similar to making caramel). Check out my recipe link above for tips on cleaning!
That it’s for this week. See you in two weeks for the next installment of this newsletter and Shana Tova!
- Karishma
P.S. Happy to hear any feedback you have about the newsletter. Is it too dense? Too long? Are the recipes interesting? Feel free to leave a comment or send me an e-mail.